One Property, One Standard:
Crisp White, No Shortcuts
Project Overview
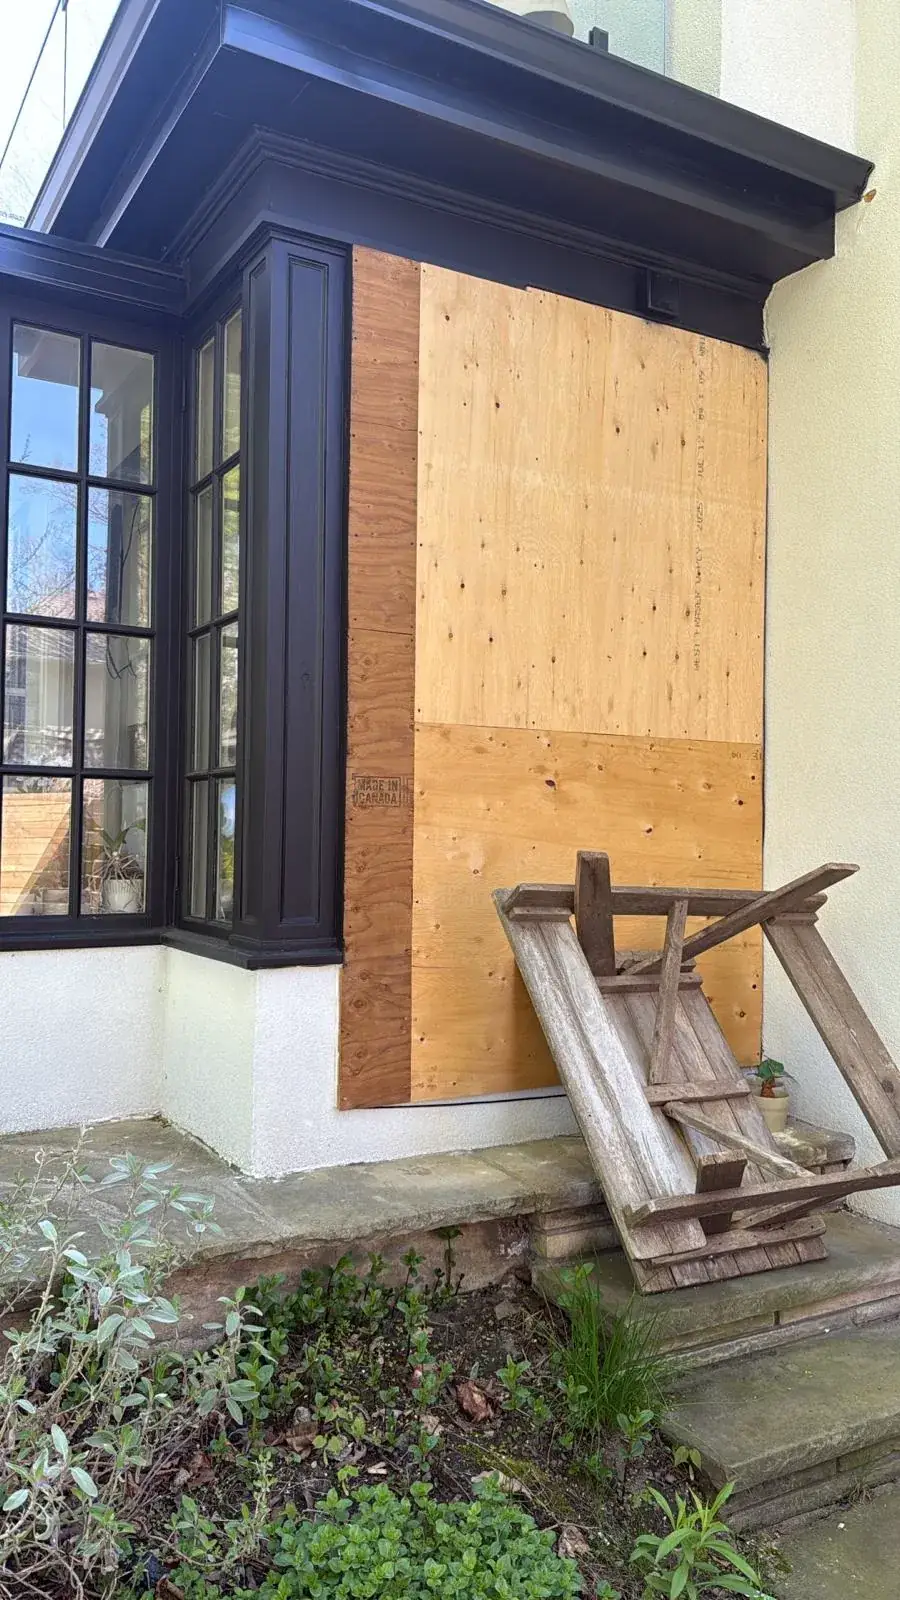
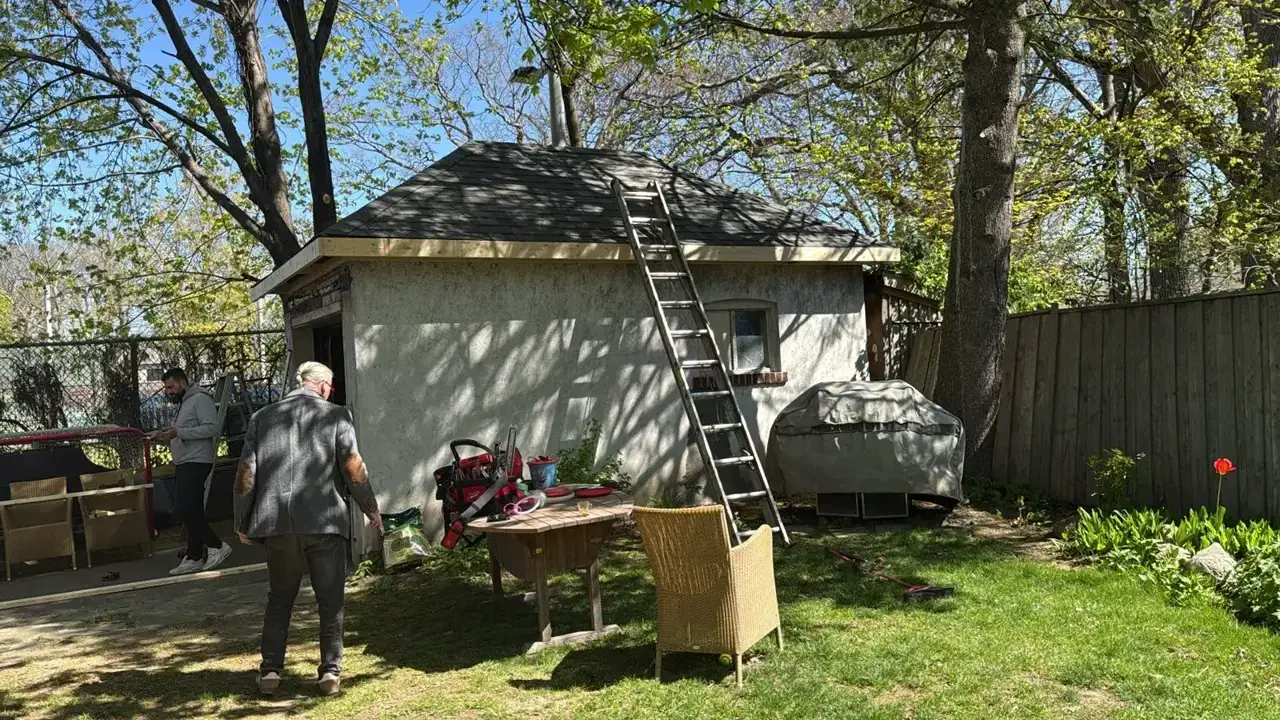
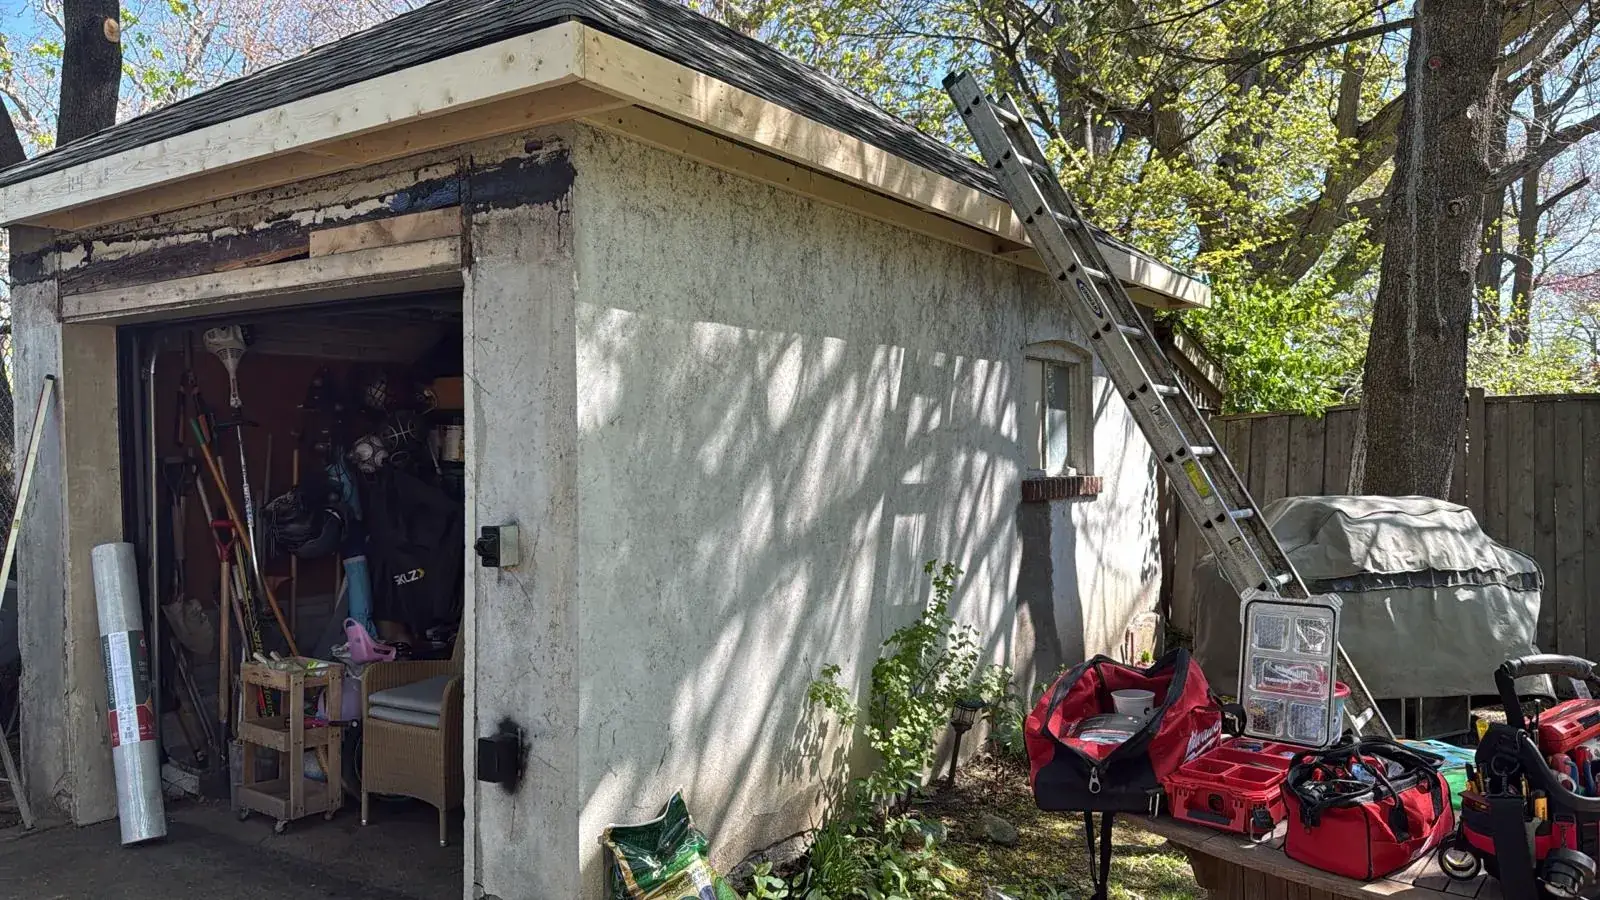
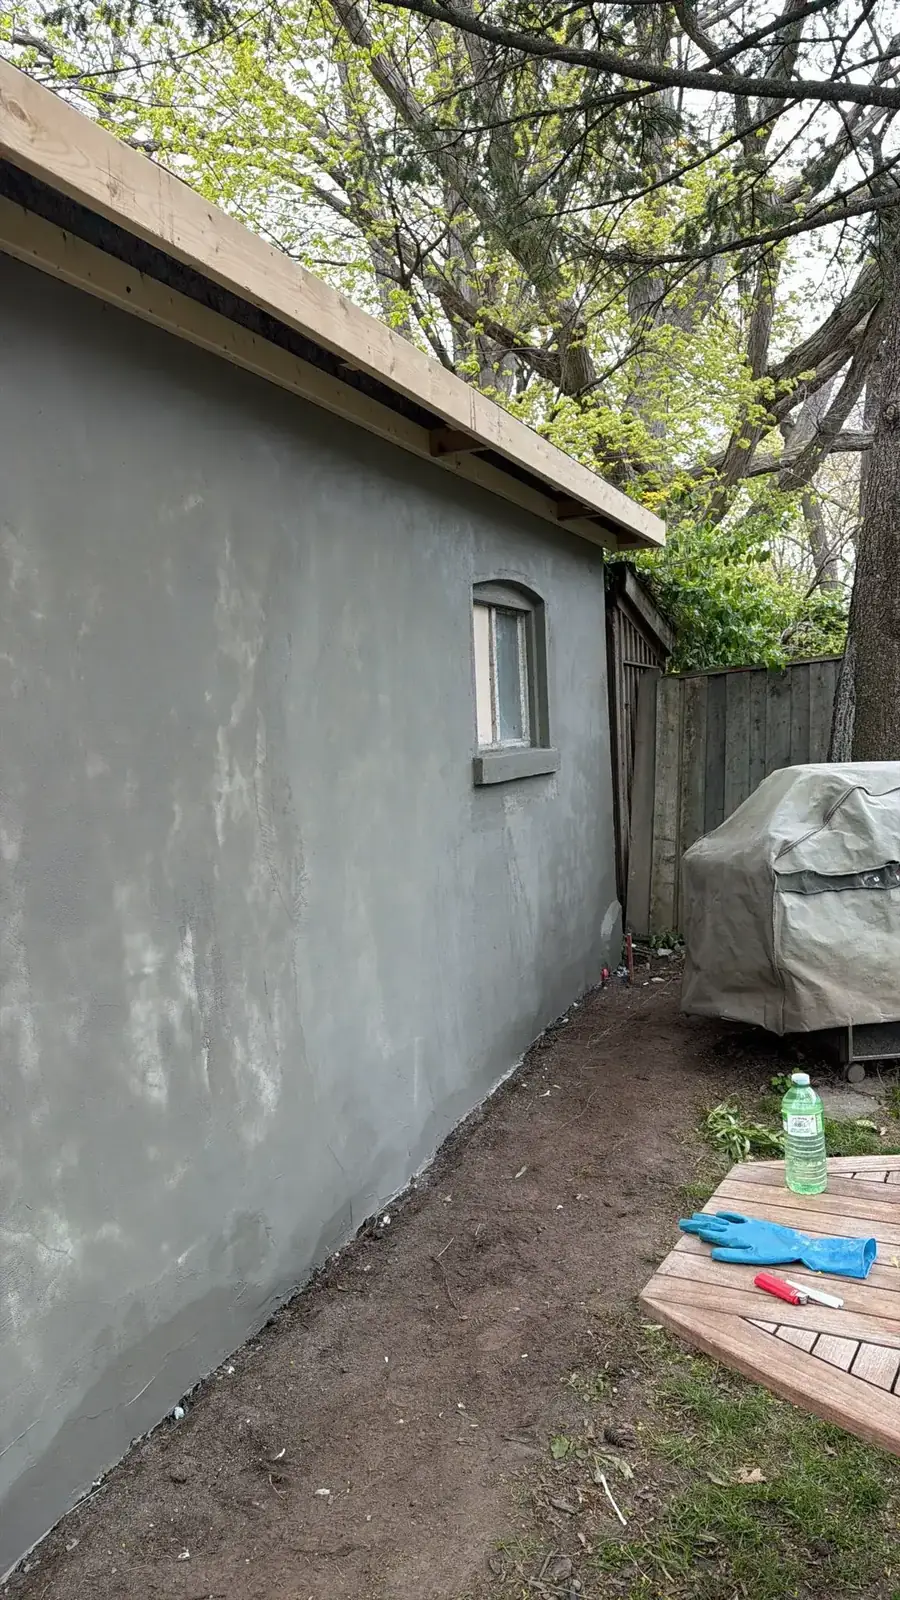
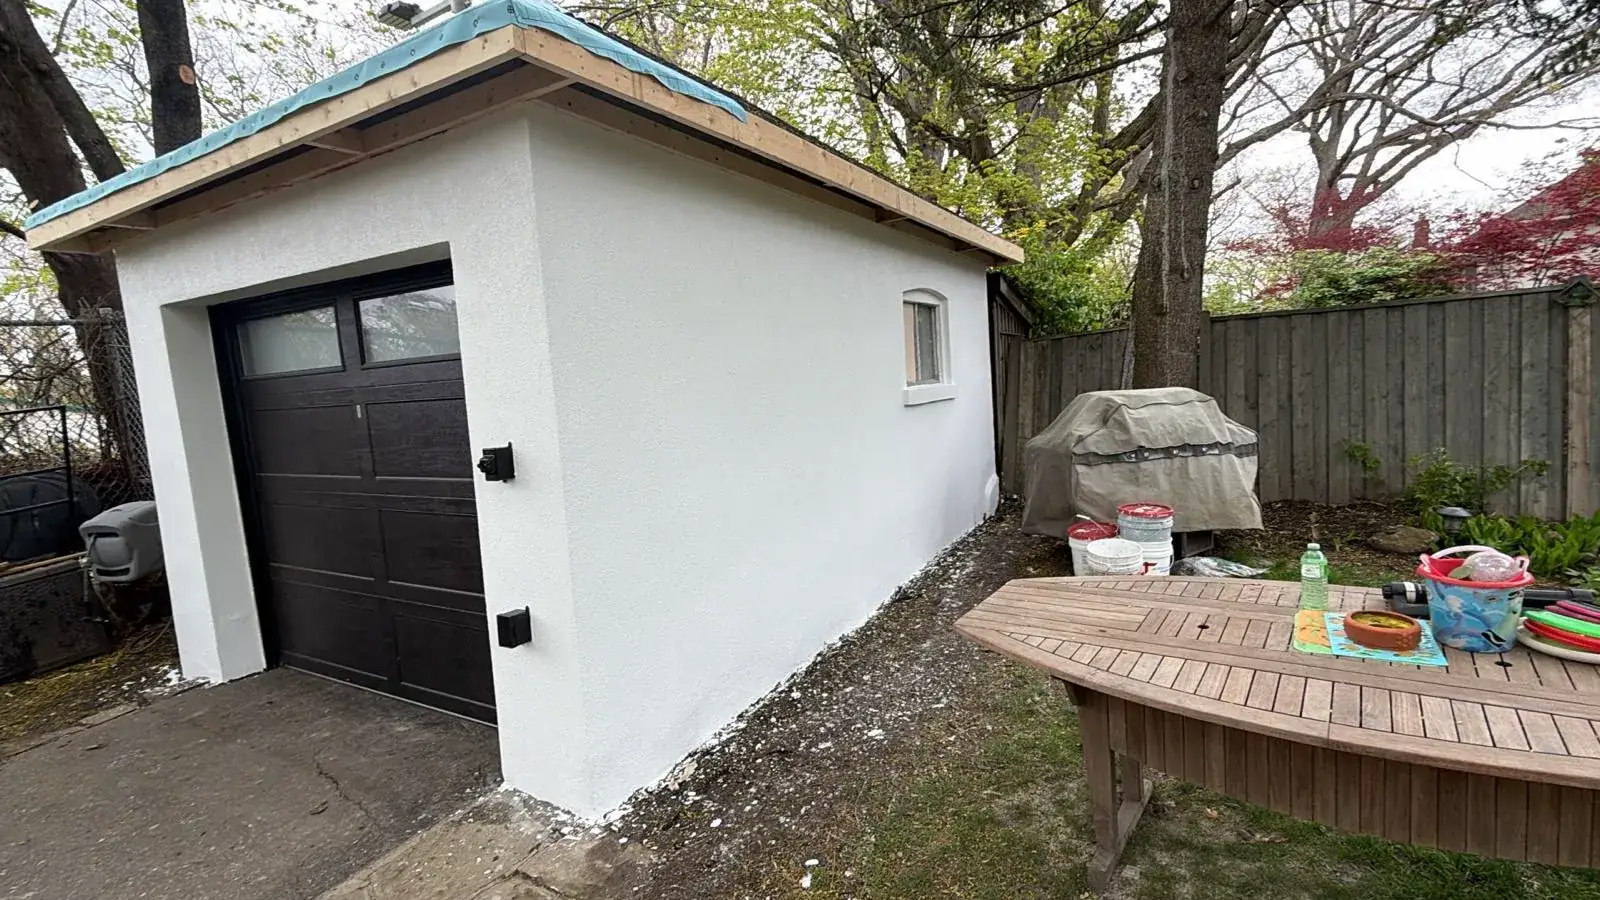
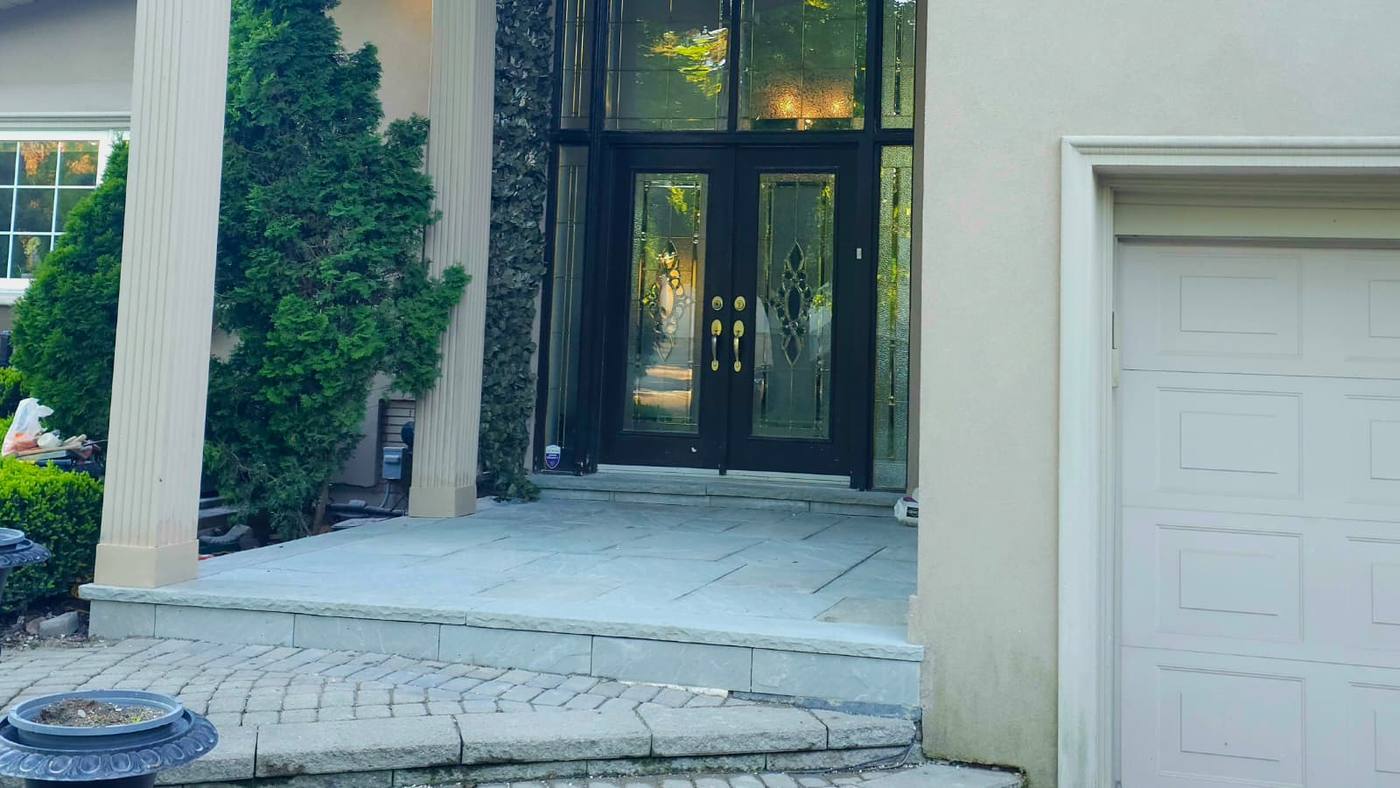
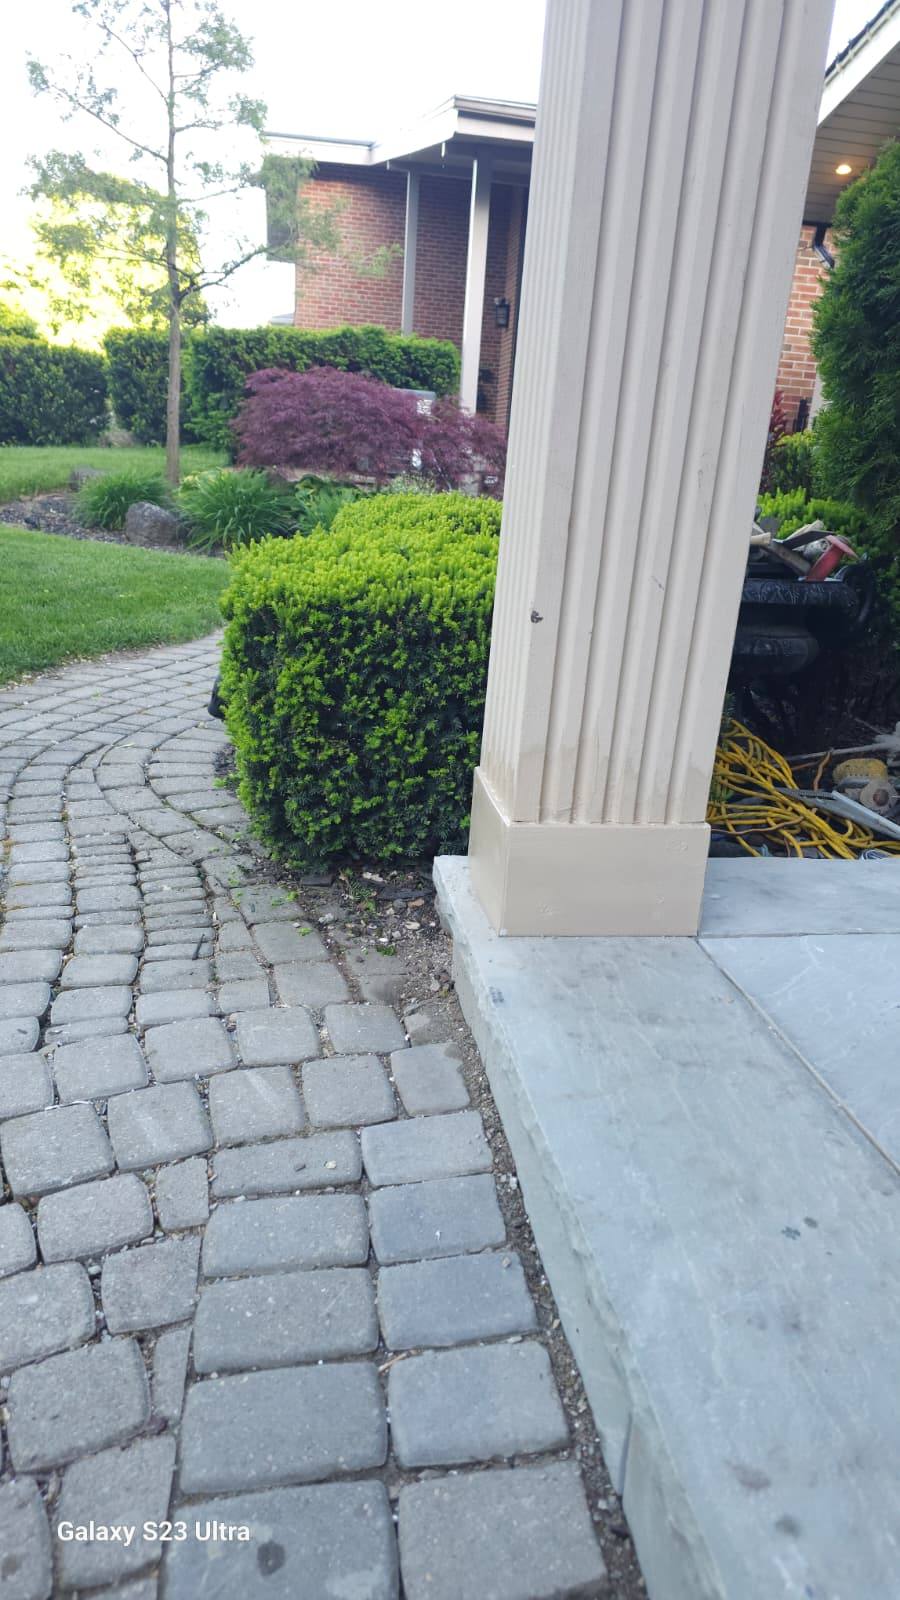
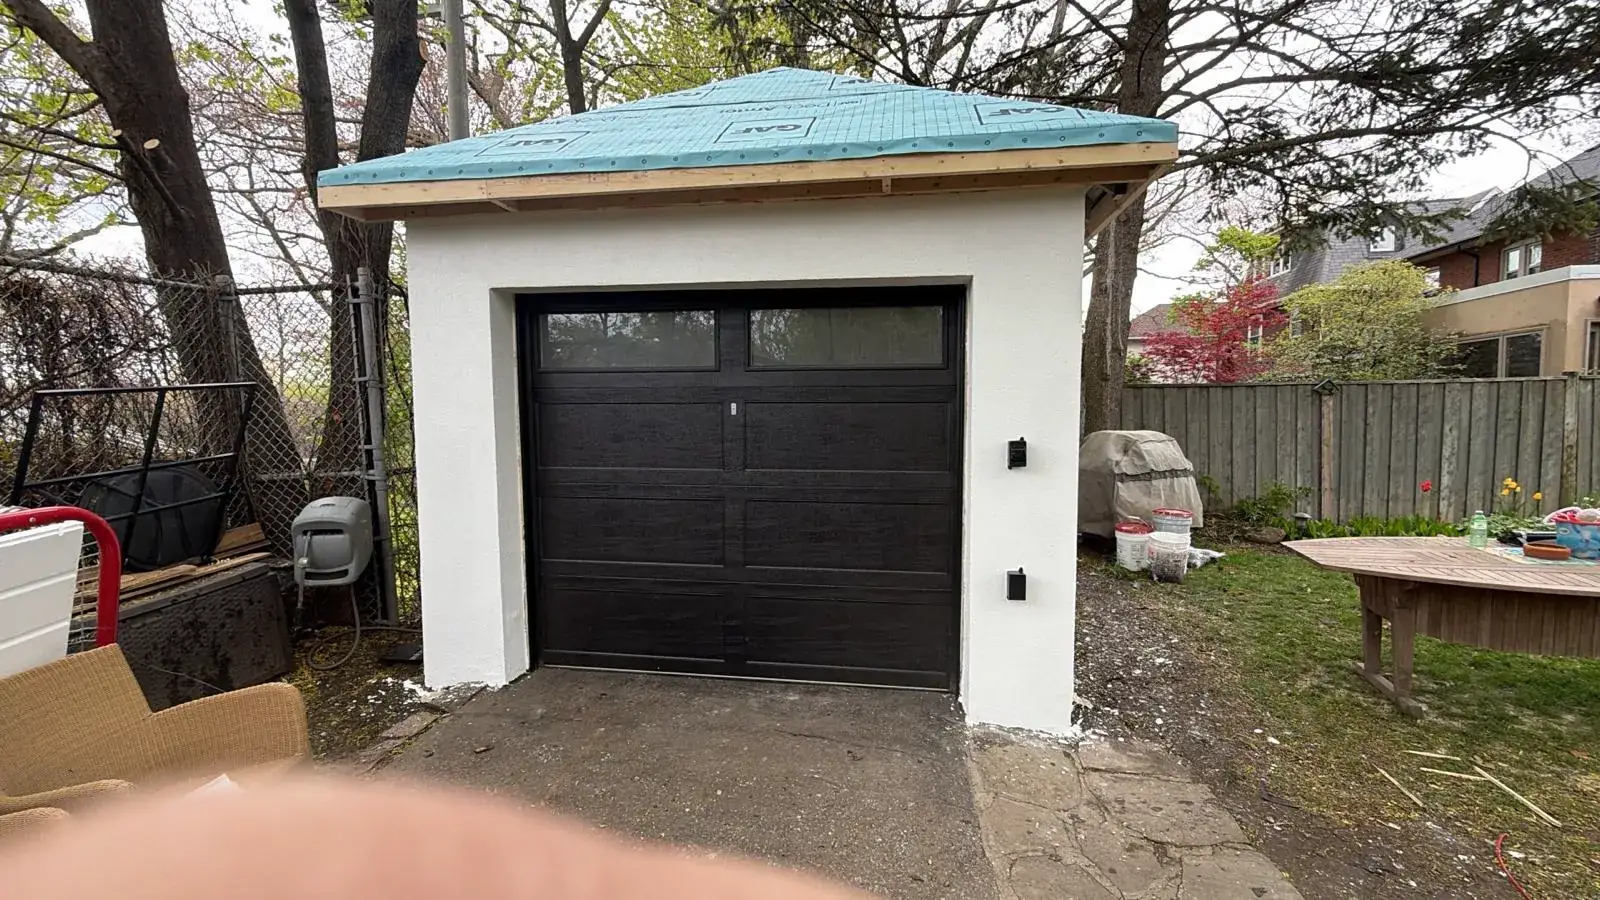
A single exterior stucco project covering two structures on the same property: a wall section at the house that had been closed up and sheathed in plywood, and a detached backyard garage with decades of weathering — chalky, cracked stucco and rotted fascia. Both were brought to the same finish line: a clean, bright white coat that reads as one consistent property, not two separate repairs. Every stage is documented below with photos from this exact job.
What Made This One Difficult
The hard part of this job was not the wall. It was the decision.
The homeowner did not know what finish they wanted and had no easy way to judge the options. We had already given them a price and told them it would not move, and we had told them they would be happy with the result. That put the risk on our side of the table: on a job where the client cannot picture the outcome in advance, a finish they do not love means doing it again on our own time.
We took that on rather than repricing it partway through or handing the decision back to them. The house wall infill and the garage fascia both had to land on the same finish so the property reads as one building instead of two separate repairs — which is the other reason the colour could not be a guess.
We held the price we quoted and finished it to what they wanted. That is what quoting after seeing the job is for.
Stage 1 — Repairs & Substrate
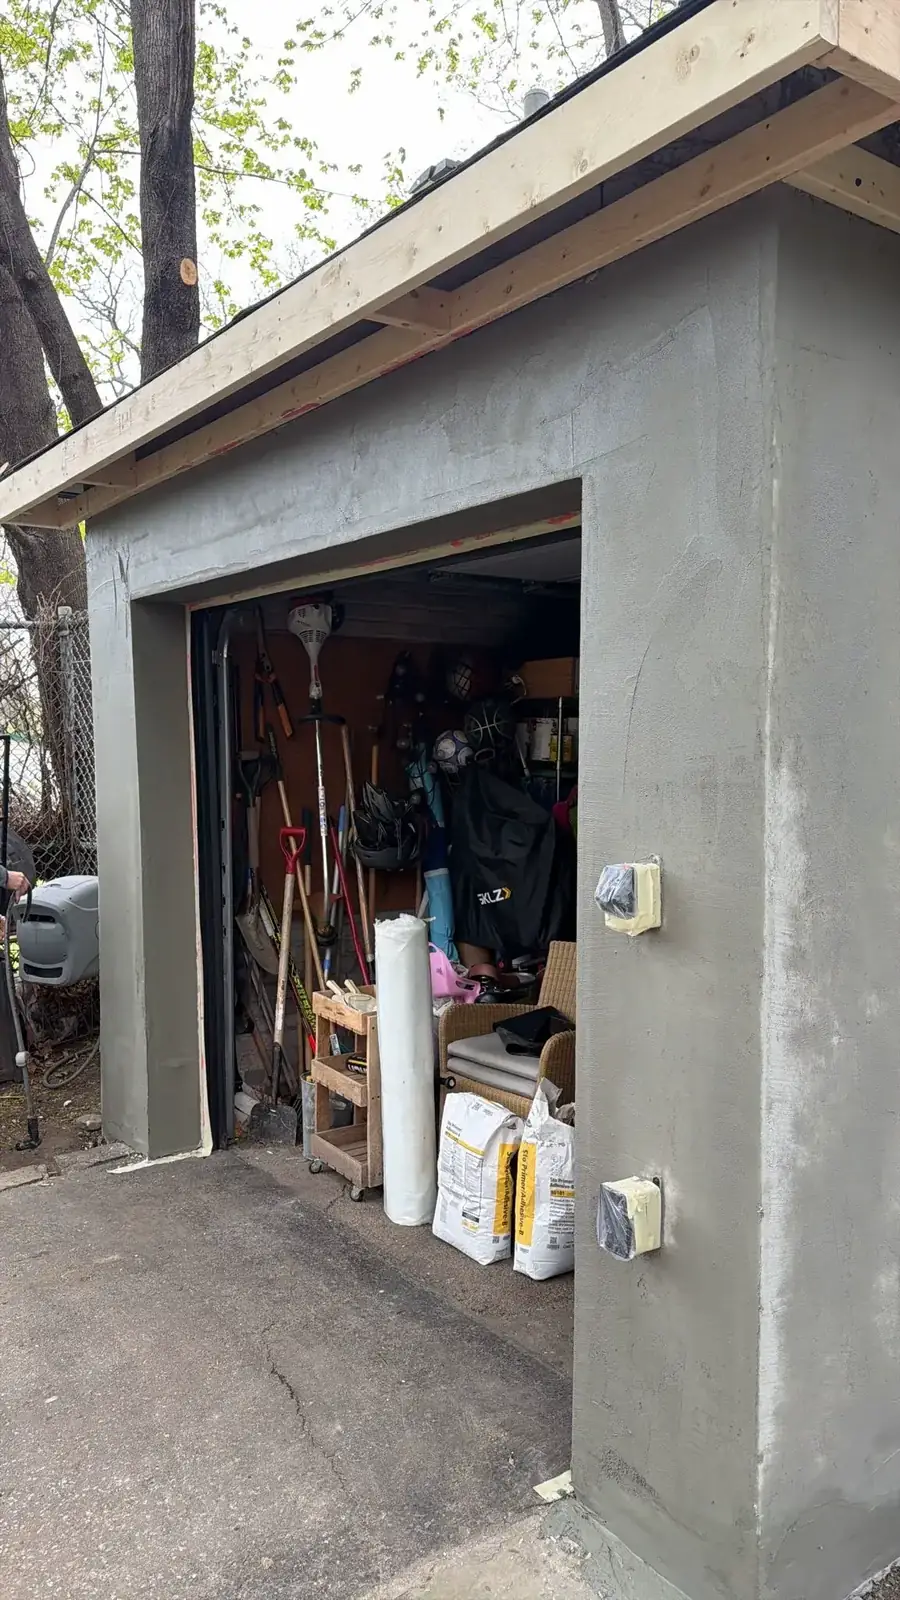
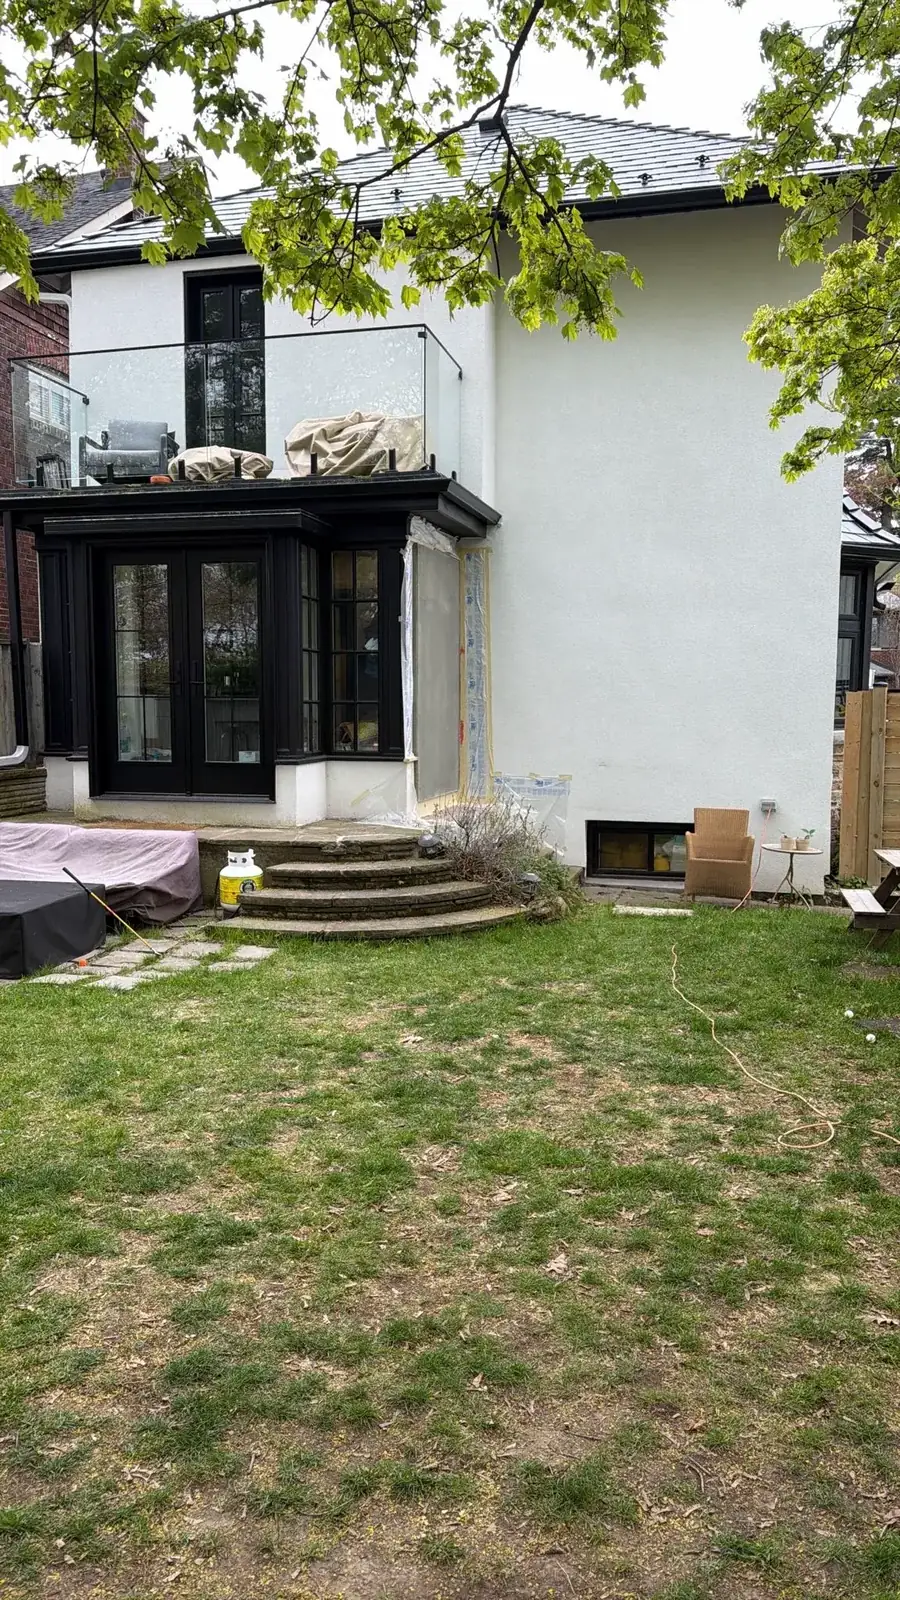
At the garage, the rotted fascia was stripped back and rebuilt with new lumber, sequenced around the roofing stage so each trade landed in the right order. At the house, the plywood-sheathed opening beside the bay window was prepped as the substrate for a stucco build-up. Loose and failing material was addressed everywhere before a single coat went on.
Stage 2 — Base Coat & Build-Up
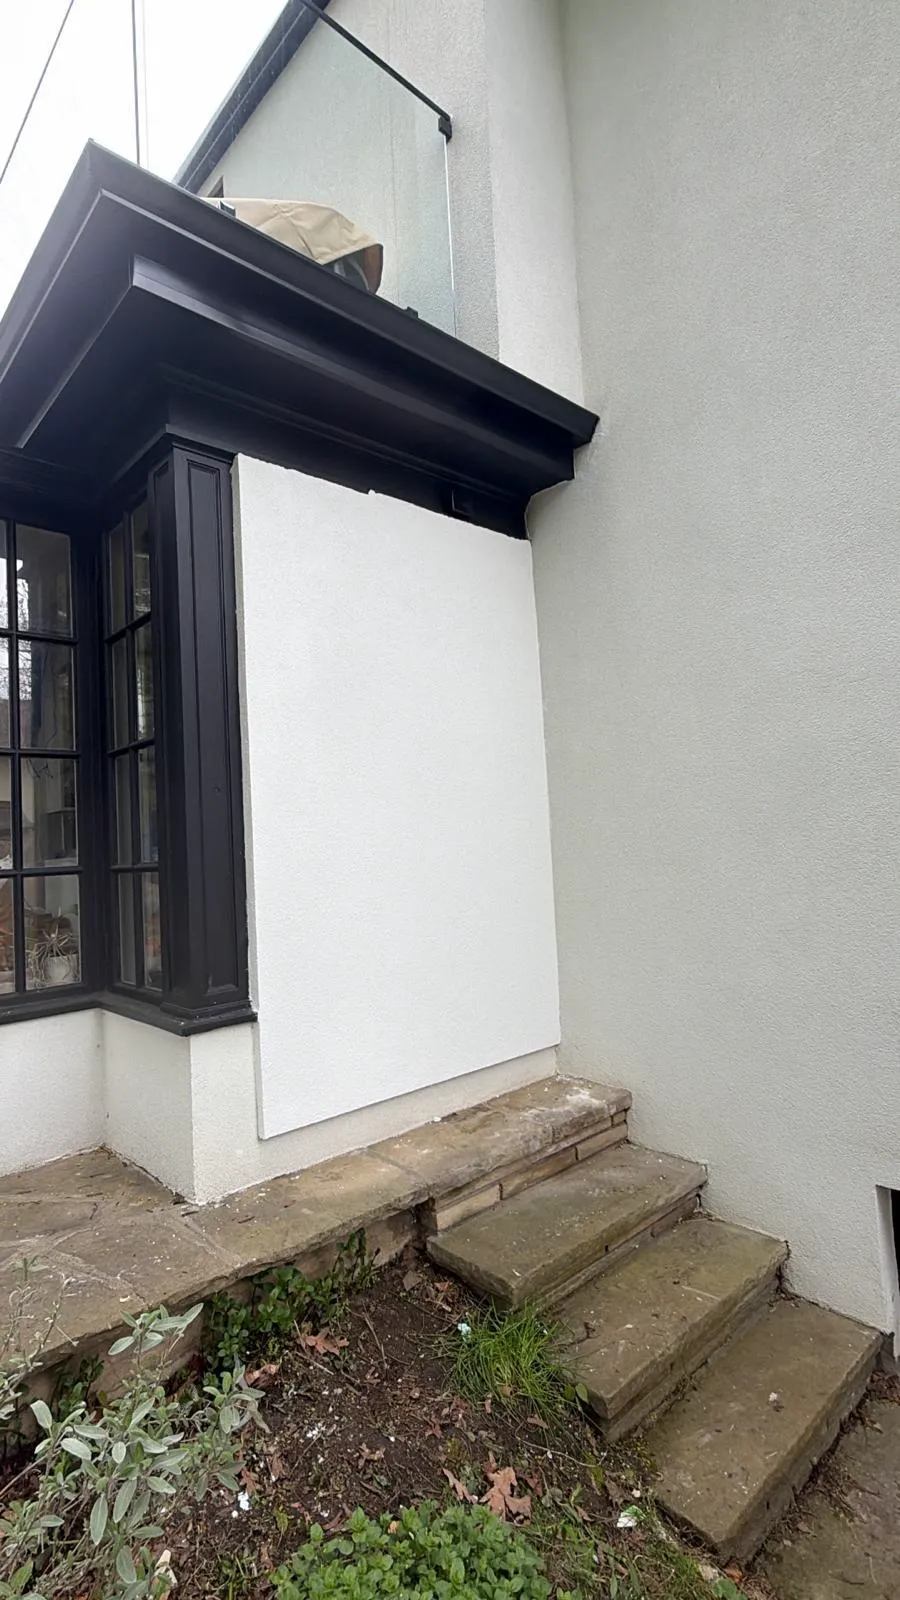
A full cementitious base coat went over the entire garage shell — walls, corners, and the window surround — creating one uniform, properly bonded surface instead of patch-on-patch repairs. On the house wall, the build-up was brought out flush to the plane of the existing facade and feathered into the surrounding stucco, because that junction is exactly where a rushed job shows a visible outline forever.
Stage 3 — Protection & Masking
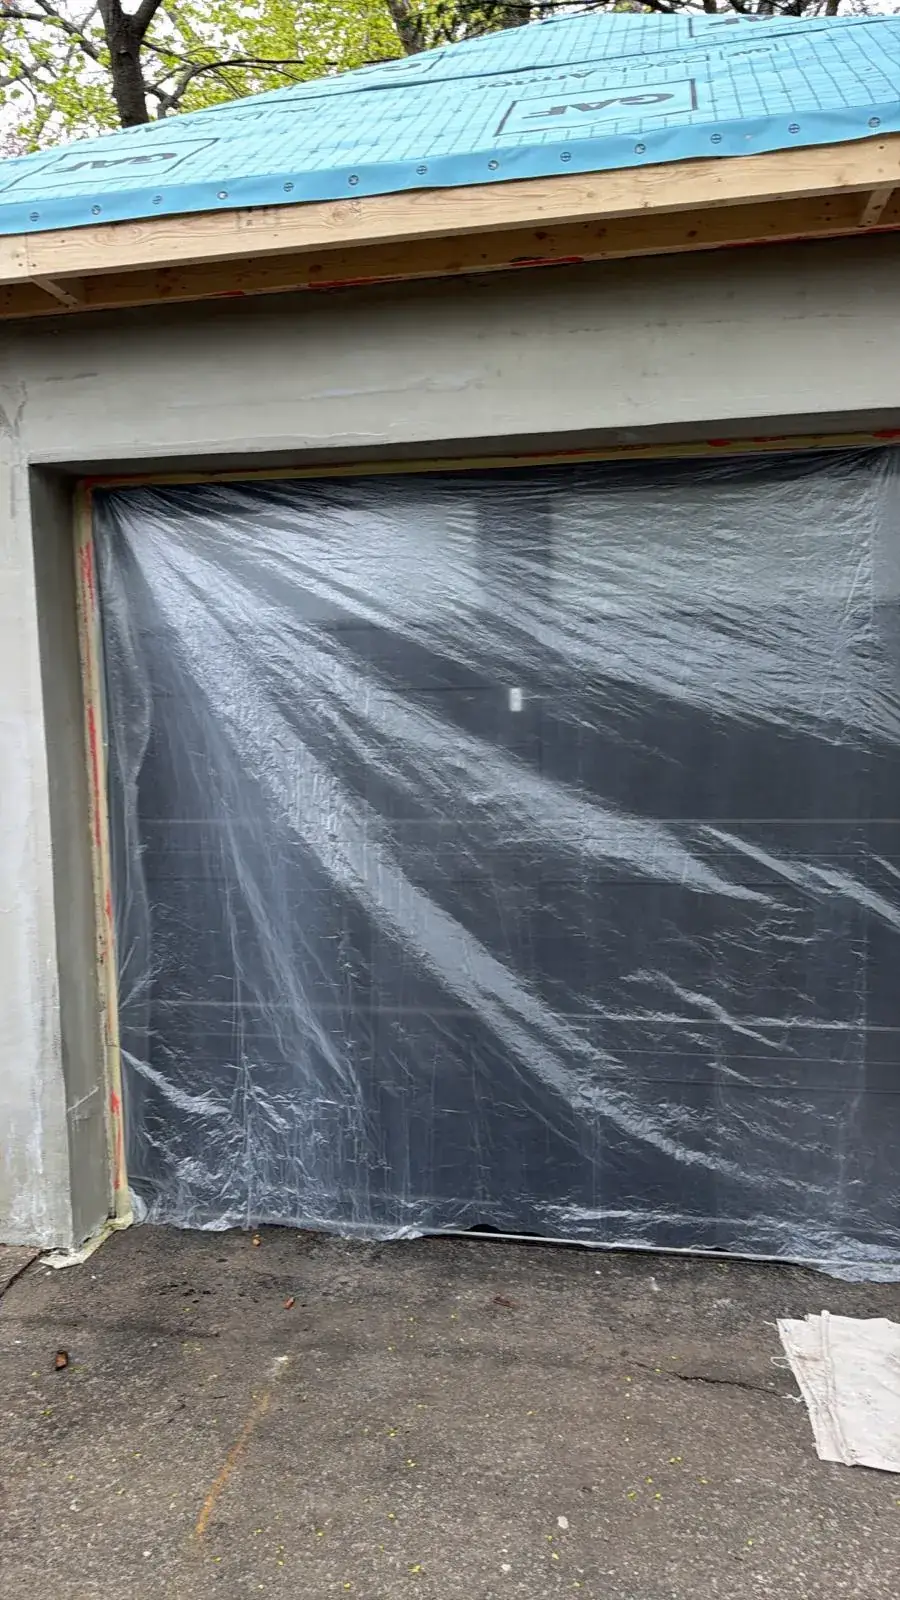
Before any finish material came out, the garage door and opening were fully masked in poly sheeting and the surrounding surfaces protected. This is the stage most people never see — and the reason the finished job has crisp lines and zero overspray on the door, the driveway, or the fence. We cover everything we are not finishing. Every time.
Stage 4 — White Finish
The final finish was applied in bright white across both structures — an even, consistent texture on the garage, and a smooth blend on the house wall that makes the infill disappear into the original facade. Checked up close and from the curb, masking removed, site cleaned, and a full walkthrough before we called it done.